How to Apply Press-Ons
Share
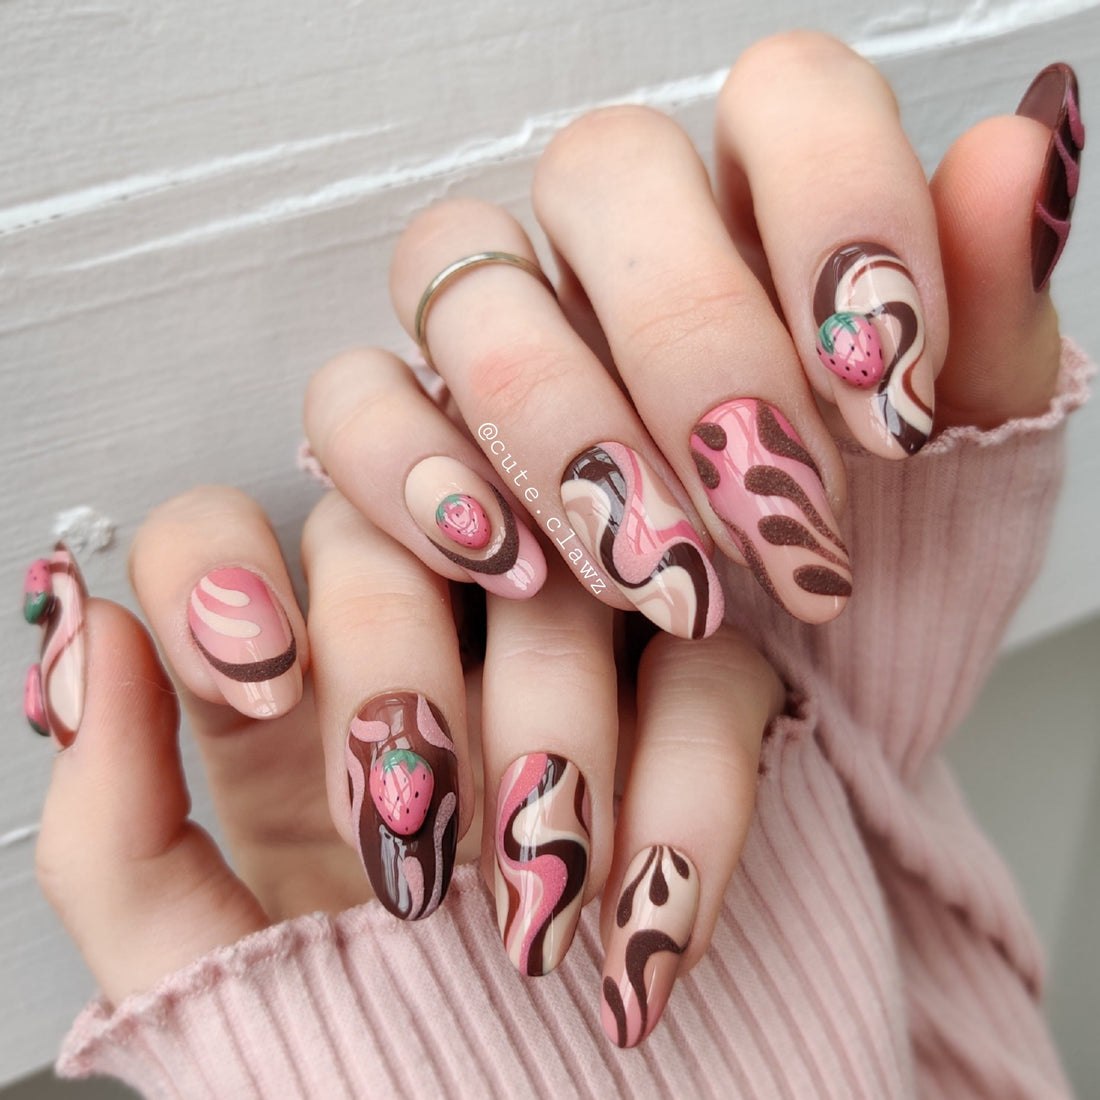
So, you've just unboxed your new set of Cute Clawz (aaah)! Whether you’re prepping for a weekend out or want to wear them full time, here’s your guide to flawless application that lasts.
Step 1: Choose Your Perfect Fit
Lay out your set and check each piece against your natural nail. If one’s a smidge too wide or too round, gently file the edge until it hugs your cuticle just right. Small adjustments go a long way!
Step 2: Prepping is Everything
Good base = strong hold. Here’s how to get your natural nails ready:
✦ Push back your cuticles
✦ Trim your nails so they sit neatly under the press-ons
✦ Lightly buff the surface (optional, but it helps)
✦ Clean with an alcohol wipe to remove oils and residue
Step 3: Pick Your Method
There are two ways to apply your set depending on how long you want the look to last:
Glue Tabs (1–2 Days)
✦ Select a tab that covers your nail bed
✦ Stick it on, smooth it out, and peel off the film
✦ Firmly press your press-on into place
Nail Glue (Up to 3 Weeks)
✦ Dot glue onto both your natural nail and spread out leaving half a mm of space
✦ Align the nail with the cuticle and press firmly for 20–30 seconds
✦ Be precise, once it’s on, it’s not going anywhere
Pro Tips from the Studio
✦ Avoid water for an hour post-application (especially with glue!)
✦ For glue tabs, steer clear of steamy showers or hot baths
✦ Be kind to your Clawz, nails are jewels not tools!
And that’s it! You’re officially rocking a set of hand-painted art made just for you. Every nail is a tiny canvas, so flaunt them with pride, take too many photos, and tag @CuteClawz so I can obsess with you :)